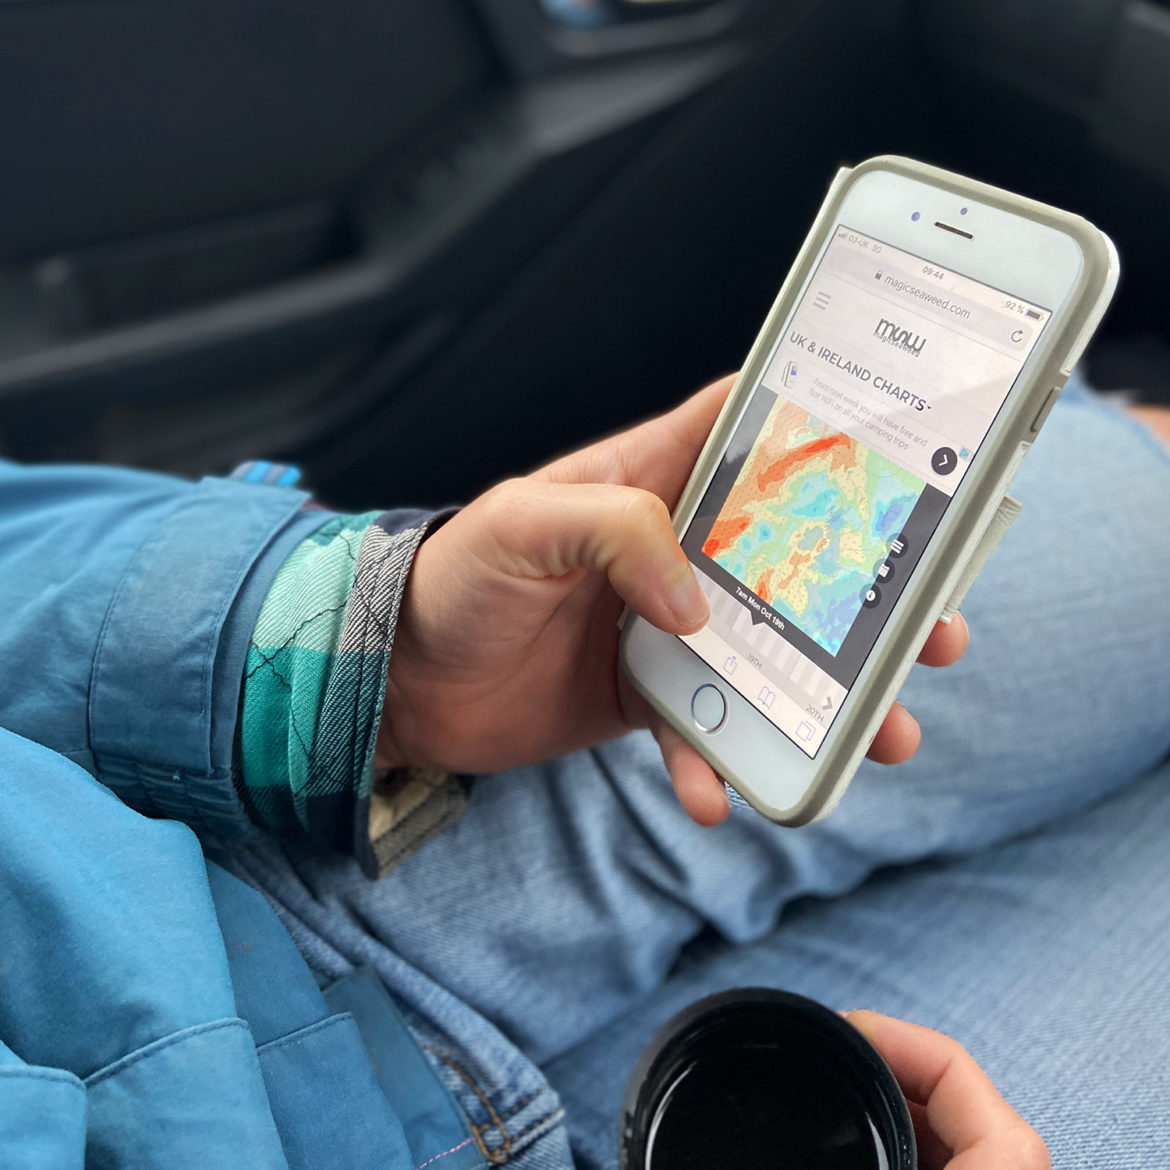
Confused by what all those charts, numbers, arrows and colours are saying when you look at a surf forecast? Understandably. Reading and understanding a surf forecast is like putting all the ingredients together to make the perfect cake. But it can be simplified. Our aim is to guide you through the surf forecasting process, to find good surf conditions and increase your time in the water.
What is a Surf Forecast?
Surf Forecasting is the process of using offshore swell and metrological data to predict the surf conditions at a given location overtime. In the past, surf forecasting consisted of wild goose chases, reading crazy charts yourself and phoning friends in the local area to find out what the surf was doing. And interpreting the raw data is a headache. Luckily there’s lot of websites and apps that analyse and chart it for you! So you check the surf from the comfort of your own home. Think of it as weather forecasting for surfing!
Why is a Surf Forecast useful?
Knowing how to read a surf forecast is a key tool to have. Trust me! Without knowing how to read a report, I’d probably end up surfing the same beach time and time again, scoring sub par conditions leaving me feeling disappointed and less motivated to surf.
Get the best conditions and maximise your surf time – especially if you live in a city!
So you’re heading to the coast on the weekend. Lots of excitement mounting, you’re envisioning yourself catching the ride of your life. You arrive and it’s a mess. Howling wind, waves all over the place. A massive anti-climax. Knowing the report can avoid this scenario.
Instead, you can score clean offshore conditions and save yourself a journey if it’s all blown out, especially if you live far from the sea. By doing this you’ll know which days/times to surf and the likelihood is if the surf is good, you’ll be in there for longer!
For more tips on how to make the most of surfing, living in the city – click here
Have more autonomy over your surfing
Knowing how to read a surf report, means you can make decisions for yourself on when and where you want to surf. You wont have to rely on someone else to tell you. Then you can surf in your own time on your own terms.
This is another reason why we include in depth Surf forecasting on our Surf Sistas Courses, to empower you to keep on surfing and applying what you’ve learnt during your course.
Build your surf confidence
This is a big one.
The unknown can be scary right? Especially with surfing. Are the waves gonna be too big for me? Will I make the paddle out? Reading a report may help with some of this uncertainty.
You’ll likely get a massive confidence boost by understanding the report. It’s gives you the skills to assess the conditions and compare what’s happening on the forecast with reality. I found reading the report, whilst not always accurate, gave me confidence heading out and exploring new spots.
You’ll surf more!
Basically for all the reasons above. Having more confidence and ability to make those decisions means you’ll head to the beach more often, equalling more surfs!
Where can you find a surf forecast?
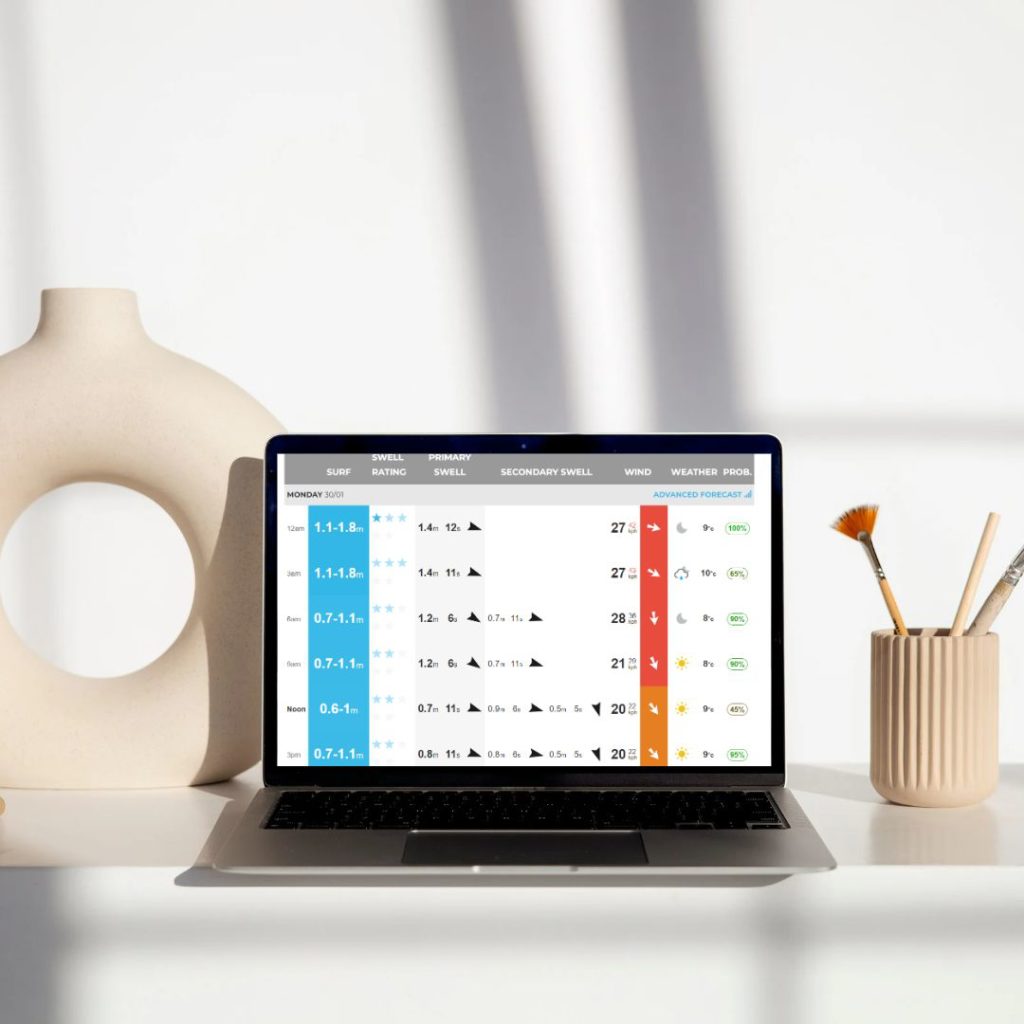
There are a number of websites and apps you can use for surf forecasting including:
- Magicseaweed (This is our default for Cornwall)
- Windy (Our favourite for looking at how wind affects the surf spot)
- Wind Guru
- Surfline
- surf-forecast.com
To keep life simple, start off with Magicseaweed! This is very user friendly and easy to read. We’ll be using MSW for examples in this blog to help you get to grips with things.
NB: It might be useful to open the Magicseaweed forecast whilst reading this blog.
A beginners guide: The 4 key things to look at on a Surf Report
There’s a lot going on when you look at a surf report and it gets overwhelming. Especially piecing it altogether.
Start off by looking at these four bits of information:
- Wave Height (Not Swell Height)
- Swell Period
- Wind Direction and Strength
- Tidal Movement
We’ve broken these down and explained them below.
First things first. What is Swell?
Swell is waves moving through the ocean following a storm. And all swells are created by wind blowing over the ocean surface. Different size swells can form and this is dependent on strength of wind, length of time the wind is blowing and area of ocean the wind blows over.
Stronger, longer storms create larger distances between waves, and have a larger swell period (more info on that later). This swell then travels towards areas of land and form waves.
We talk about two types of Swell:
Windswell: Swell generated by localised winds that create smaller weaker waves with smaller swell periods.
Groundswell: Swell generated by large storms out at sea, leading to bigger waves at the surf breaks.
We’ll be using the term “swell” a lot so it’s good to know what it is (and not confuse it with Waves).
Wave Height
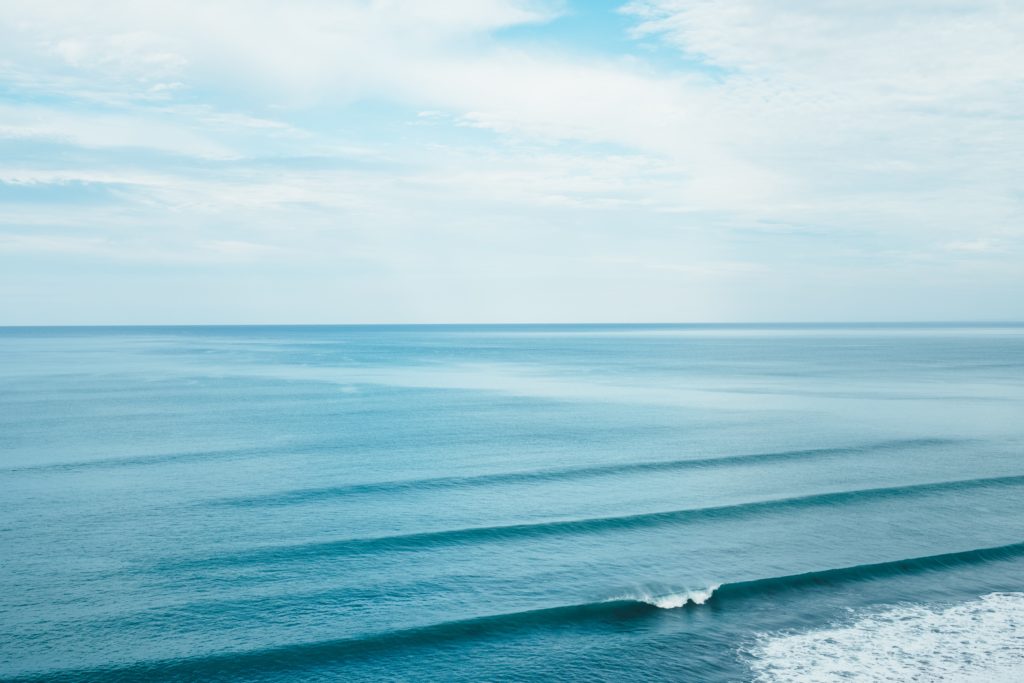
This is not to be confused with “swell height.” The wave (surf) height is the attempt by forecasters to give you an idea of how big the waves will be when the swell hits the beach. So the height of the waves you’ll be surfing.
Swell Height is the height of unbroken waves as they approach the beach. They’re different because swell height is in deep water and as the swell approaches the beach hit sand banks they change in shape and size to form the surfable waves (=wave height).
On MSW, the wave height is calculated using swell height, swell direction and swell period. It doesn’t account tidal movement, wind, local conditions like sea bed, sand banks or mad made obstructions. And these can all affect the size of the wave height! But more on that in our advanced forecasting. For now, don’t worry too much about those factors.
You can measure the surf height based on your body. I’m 5ft 3 so would describe a 5ft wave as head high (ish) and anything bigger as overhead, double overhead etc. One key thing to mention here is the wave height is the average size wave you’ll see at the beach. Some of the sets might be bigger or smaller. This means that the wave height on MSW gives an “at a glance” indication of what to expect. Don’t take it as gospel.
Wind Direction and Strength
Wind Direction is vital for telling you whether you can expect clean or messy waves at the beach. As a general rule the best wind is no wind. Because it creates lovely glassy conditions (the water is smooth like a mirror). But this can be a rarity, especially in the UK.
Look out for two wind directions:
Onshore Wind: When the wind blows from sea to land, creating messy conditions.
Offshore Wind: The wind blows from land to sea (blowing “off the shore” is how I remember it), creating nice clean surfable waves.
You want off shore winds ideally. To work out which wind you need for a beach, look at a map. Magicseaweed will show the surf spot on a map. Look at which way the beach is facing. You want the wind to blow in the opposite direction. For example is you have a beach facing west, the best wind would be an easterly wind (but a South Easterly or North Easterly could be relatively clean too).
Another great app for wind is Windy. It shows you the direction the beach faces on the mas and the wind direction throughout the day. This is useful as you might be able to find little corners of shelter on the map if the wind isn’t blowing in the right direction. For example if one end of the beach is protected from the wind by a headland, you might score some cleaner waves in that spot.
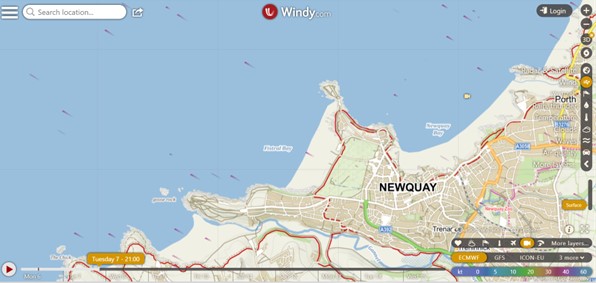
Wind strength is also important. Because a light onshore wind (e.g. 4mph) might create really nice waves and conditions even though it’s onshore because the strength of the wind is very little. Conversely a very strong offshore wind could completely flatten the profile of the waves and make it unsurfable ( especially if the wave height is very small)
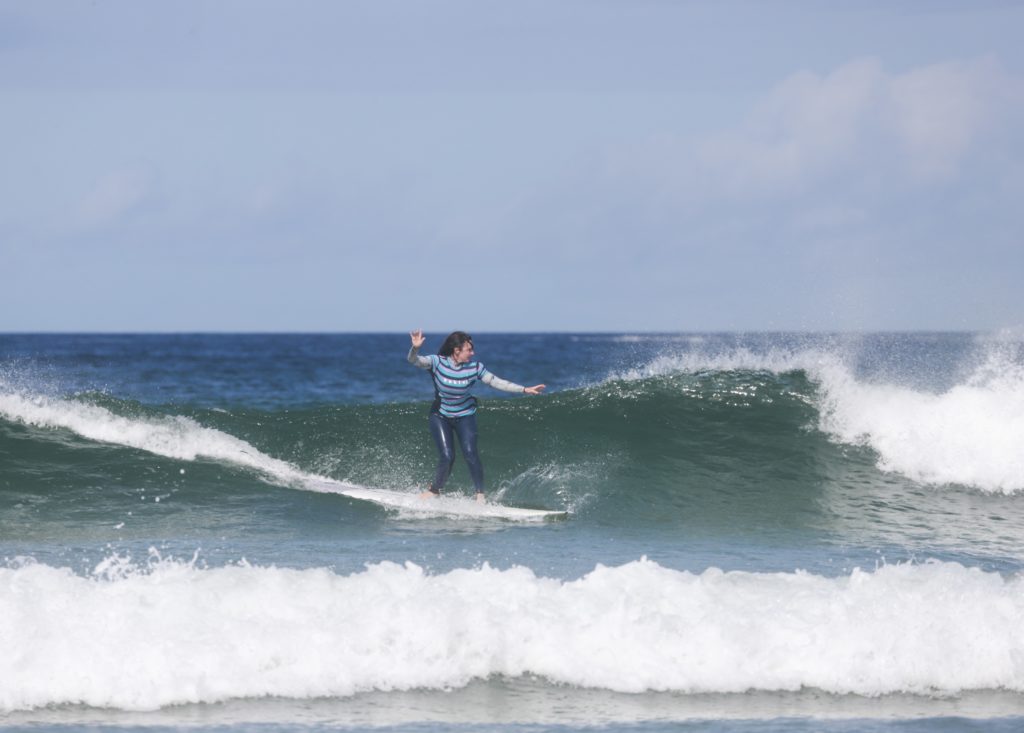
Magicseaweed gives two readings for the Wind. The first is the steady speed of the wind and the second is gusts (this is the smaller number). In general I pay attention gusts as this is the strongest wind strength expected at the beach and can have the greatest effect.
Hovering you mouse over the wind direction on MSW will tell you the exact angle it’s blowing and a verbal description of the strength. If it says “light onshore” it’s likely it could be quite fun and not too messy.
Swell Period
Another key detail. What is swell period exactly? It’s the time taken for successive waves to pass a point. Basically the number of seconds between the crest of one wave passing a point and the next wave crest.
Why is it important? Swell period tells us about the size and power of the waves we expect to see at the beach. With a bigger swell period you can expect the surf to be a bit more “setty” with bigger “luls” (flat periods) between sets and bigger set waves coming through.
How does that work? Well, swell that has a bigger period (longer time between waves) has a flatter profile in deep water. This means when they enter shallower water the water gets “bunched up” and creates larger waves. Long period waves also travel faster than shorter period waves so when they do break, they are more powerful and punchy.
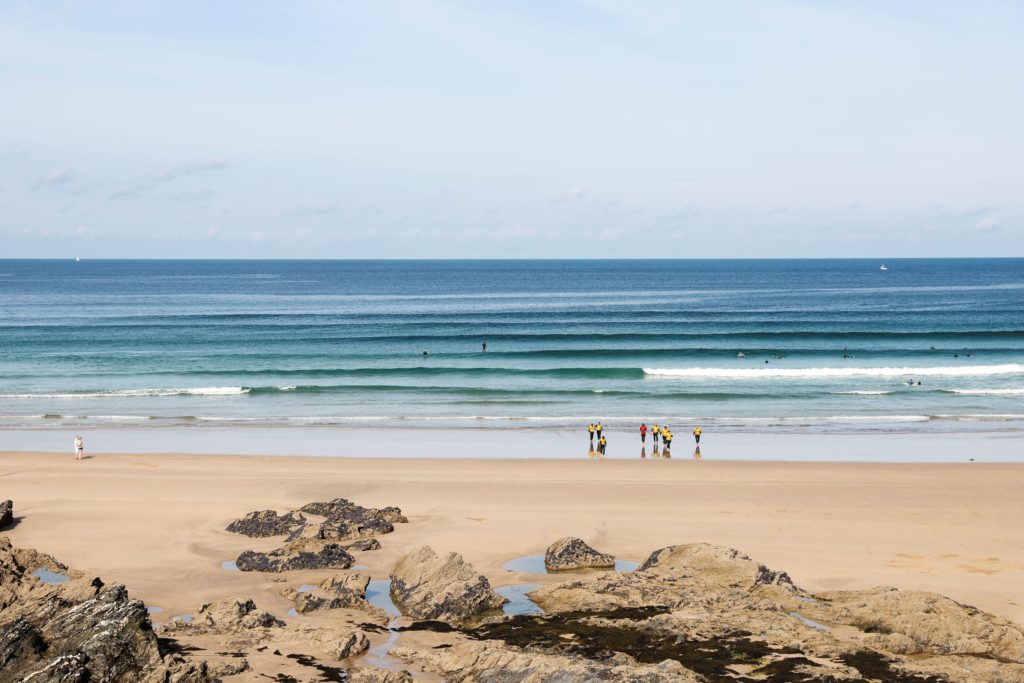
It’s important to understand the swell period as this gives an indication of whether the waves are actually surfable. Swell period is shown in seconds on a forecast. Here’s what each one means:
1-4 seconds: Unsurfable, go and do something else with your day.
4-6 seconds: You’ll start to see some wave like bumps in the sea but it’ll be weak and hard to catch. Again, enjoy your time doing other things.
7-9 seconds: Ok starting to look like it’s surfable. Especially in places where there’s really inconsistent surf, surfers may head out in this on summer swells with the longboard. The waves will probably be small. The swell creating the waves, which is “Primary Swell” on MSW is likely bigger than the Wave Height. The sets will be jumbled, but you could get some good waves if the sand banks at the beach are good!
10-12 seconds: In general double digits, means a good swell period. The wave height will is likely to be the same as the swell height and will be good at beach breaks but might not reach sheltered spots. I normally look for 9 seconds+ when I’m going for a surf!
13-15 seconds: At 13 seconds, you know the swell is being created by powerful storms out at sea creating the groundswell. The wave height is likely to be bigger than the swell height at this period and could even create barrelling waves. At this swell period you can expect to see nice lines of swell out at sea.
16+ seconds: Rare in the UK unless accompanied by strong onshore winds from a storm front. This is extremely powerful swell travelling long distances over the ocean. These waves will refract reaching more sheltered hard to reach spots. A swell of 1-2ft with a period of 16 seconds + could create waves of up to 9ft in height!
Tidal Movement
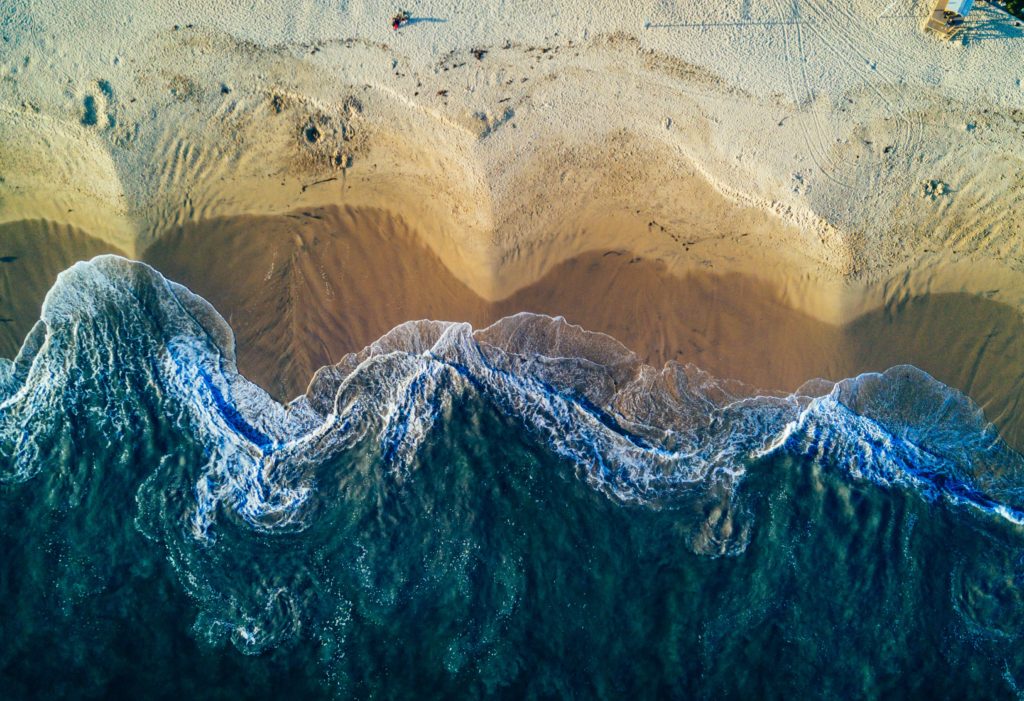
So as mentioned, tidal movement isn’t taken into account when calculating the wave height at a beach, but it’s super important! The tide will affect the shape of the waves and some spots only work on specific tides. Knowing about tides means you can time your session to score waves that suit you and avoid missing out.
Tides are the rise and fall of sea levels throughout they day. In a 12hr 25minute period there is one high tide and one low tide. Tides are caused by the gravitational pull of the moon and the sun on the land and sea. The pull on the ocean is noticeable through tides.
Knowing when the tides are high and low can impact the type of wave you see at the beach. For example, at some spots, hide tide may “mask” the wave height and show flat conditions as the energy of the wave dissipates as it hits a steep beach profile. At low tide, as there is less sand to break over, you may notice the waves “closing out” which could indicate better conditions as the tide pushes in.
In a 28 moon cycle, you’ll also see the range of tidal movement change. When you get high high tides and low low tides, this is called a Spring tide. This happens around the Full and New Moon. This normally creates stronger currents as the water has to move further in the same period of time. When you get high lows and low highs (less movement of water between low and high) these are called neap tides. This happens around the Waxing and Waning Moon.
As a general rule when you’re starting off in surfing, you want to be looking for a mid-high tide to surf on as this often creates better shaped waves that don’t break as quickly. Also check the Spot Guide on MSW as this gives some idea of tides and information on the surf spots in general. For example, Crantock beach in Cornwall rarely works at high tide but Watergate Bay is a popular high tide spot.
Piecing it altogether
Here’s a summary of what we’ve talked about:
- Swell is generated out at sea by storms and creates waves at the beach.
- Wave height on Magicseaweed tells you the what height wave to expect at the beach.
- Swell Period tells you how powerful the waves will be and affects the size. Generally surfable conditions are 9 seconds + (for the UK).
- Look for no wind or light wind on the forecast that’s preferably offshore! And use a map to help you determine best wind direction for the beach.
- Tides affect the shape of waves. Generally a mid tide (halfway between low and high) is great for surfing on at most beaches, but check spot guides that may indicate best tide for that location.
Useful Tips
- Take the report with a pinch of salt: Surf forecasts combine meteorological data, swell data and algorithms and it all gets a bit complex. Whilst better than they’ve ever been, the forecasting might not always be accurate! It could be rubbish when you think it’s epic. So be aware of your expectations based on what the report says. One key thing!! The surf report wont tell you the quality of the sand banks (this is what the swell moves and breaks over to form surfable waves). You’ll only see those when you get to the beach.
- Don’t get too fixated with it or you’ll never surf! Perfectionists beware. You could get pernickety on the report and searching for perfect conditions which could turn you into a wave snob and you’ll likely surf less! If it looks good enough go for it. Some of the most fun surfs I’ve had have been in wiggly onshore conditions when the surf report has looked adverse.
- Use the map: It is so useful for looking at the wind direction of the beach and getting your bearings of different spots. This is when I like using Windy App
- Use the spot guide: Sites like MSW normally give you a descriptive lowdown on the spot. Whilst a lot of them say things like “loads of locals” and “seriously dangerous beach” etc that could put you off, they also provide info on what tide, wind direction and wave height the beach will work best at.
- Keep a surf journal: Write down what the report says and also what is actually happening at the beach. As the report isn’t always accurate you can improve your ability to critically assess the report. It’ll also give you an idea of what waves you like and surf best in meaning you can make better decisions to get the best waves for you.

Still confused?
We include Surf Forecasting on Beginner, Improver and Intermediate Courses in Cornwall plus trips abroad. So if you’re confused, you can book a course knowing you’ll gain this key skill.
The reason it’s so valuable during a surfing course is because before each session we’ll be doing a conditions assessment, looking at wave height, wind direction and where the waves are best to get the best out of the session. By looking at the report and then seeing what is actually happening at the beach you’ll apply the forecasting in real time, improving your forecasting skills very quickly!
Want to know more? If you’re a proficient surfer who is out the back on green wave, then join us on our Intermediate Coaching Weekend, where we delve into advanced surf forecasting in one of our theory sessions.
